Most people booking a ceramic coating are picturing the last twenty minutes of the job: someone in gloves wiping a small bottle of liquid glass across a hood. That part is real, and it's the least interesting thing that happens to your car that week.
A coating is optically clear, and it bonds to whatever surface it finds. It adds gloss, it makes water bead, it resists chemicals and UV — but it has no opinion about swirl marks, embedded brake dust, or a water spot etched into the clear coat. Whatever is underneath is what you'll be looking at, sealed in and protected, for years.
Which means the honest answer to "how good will my coating look?" is decided before the coating is ever opened. Here's the full prep sequence, in order, with what each stage actually fixes — plus the questions that turn two very different quotes into a fair comparison.
The Prep Sequence at a Glance
- Inspection under proper lighting — reads the paint and sets how many correction stages it needs.
- Deep wash and degrease — removes everything loose, including wheels, trim, and door jambs.
- Chemical decontamination — dissolves embedded iron and tar that washing can't touch.
- Clay treatment — shears off the bonded contamination left behind, leaving glass-smooth paint.
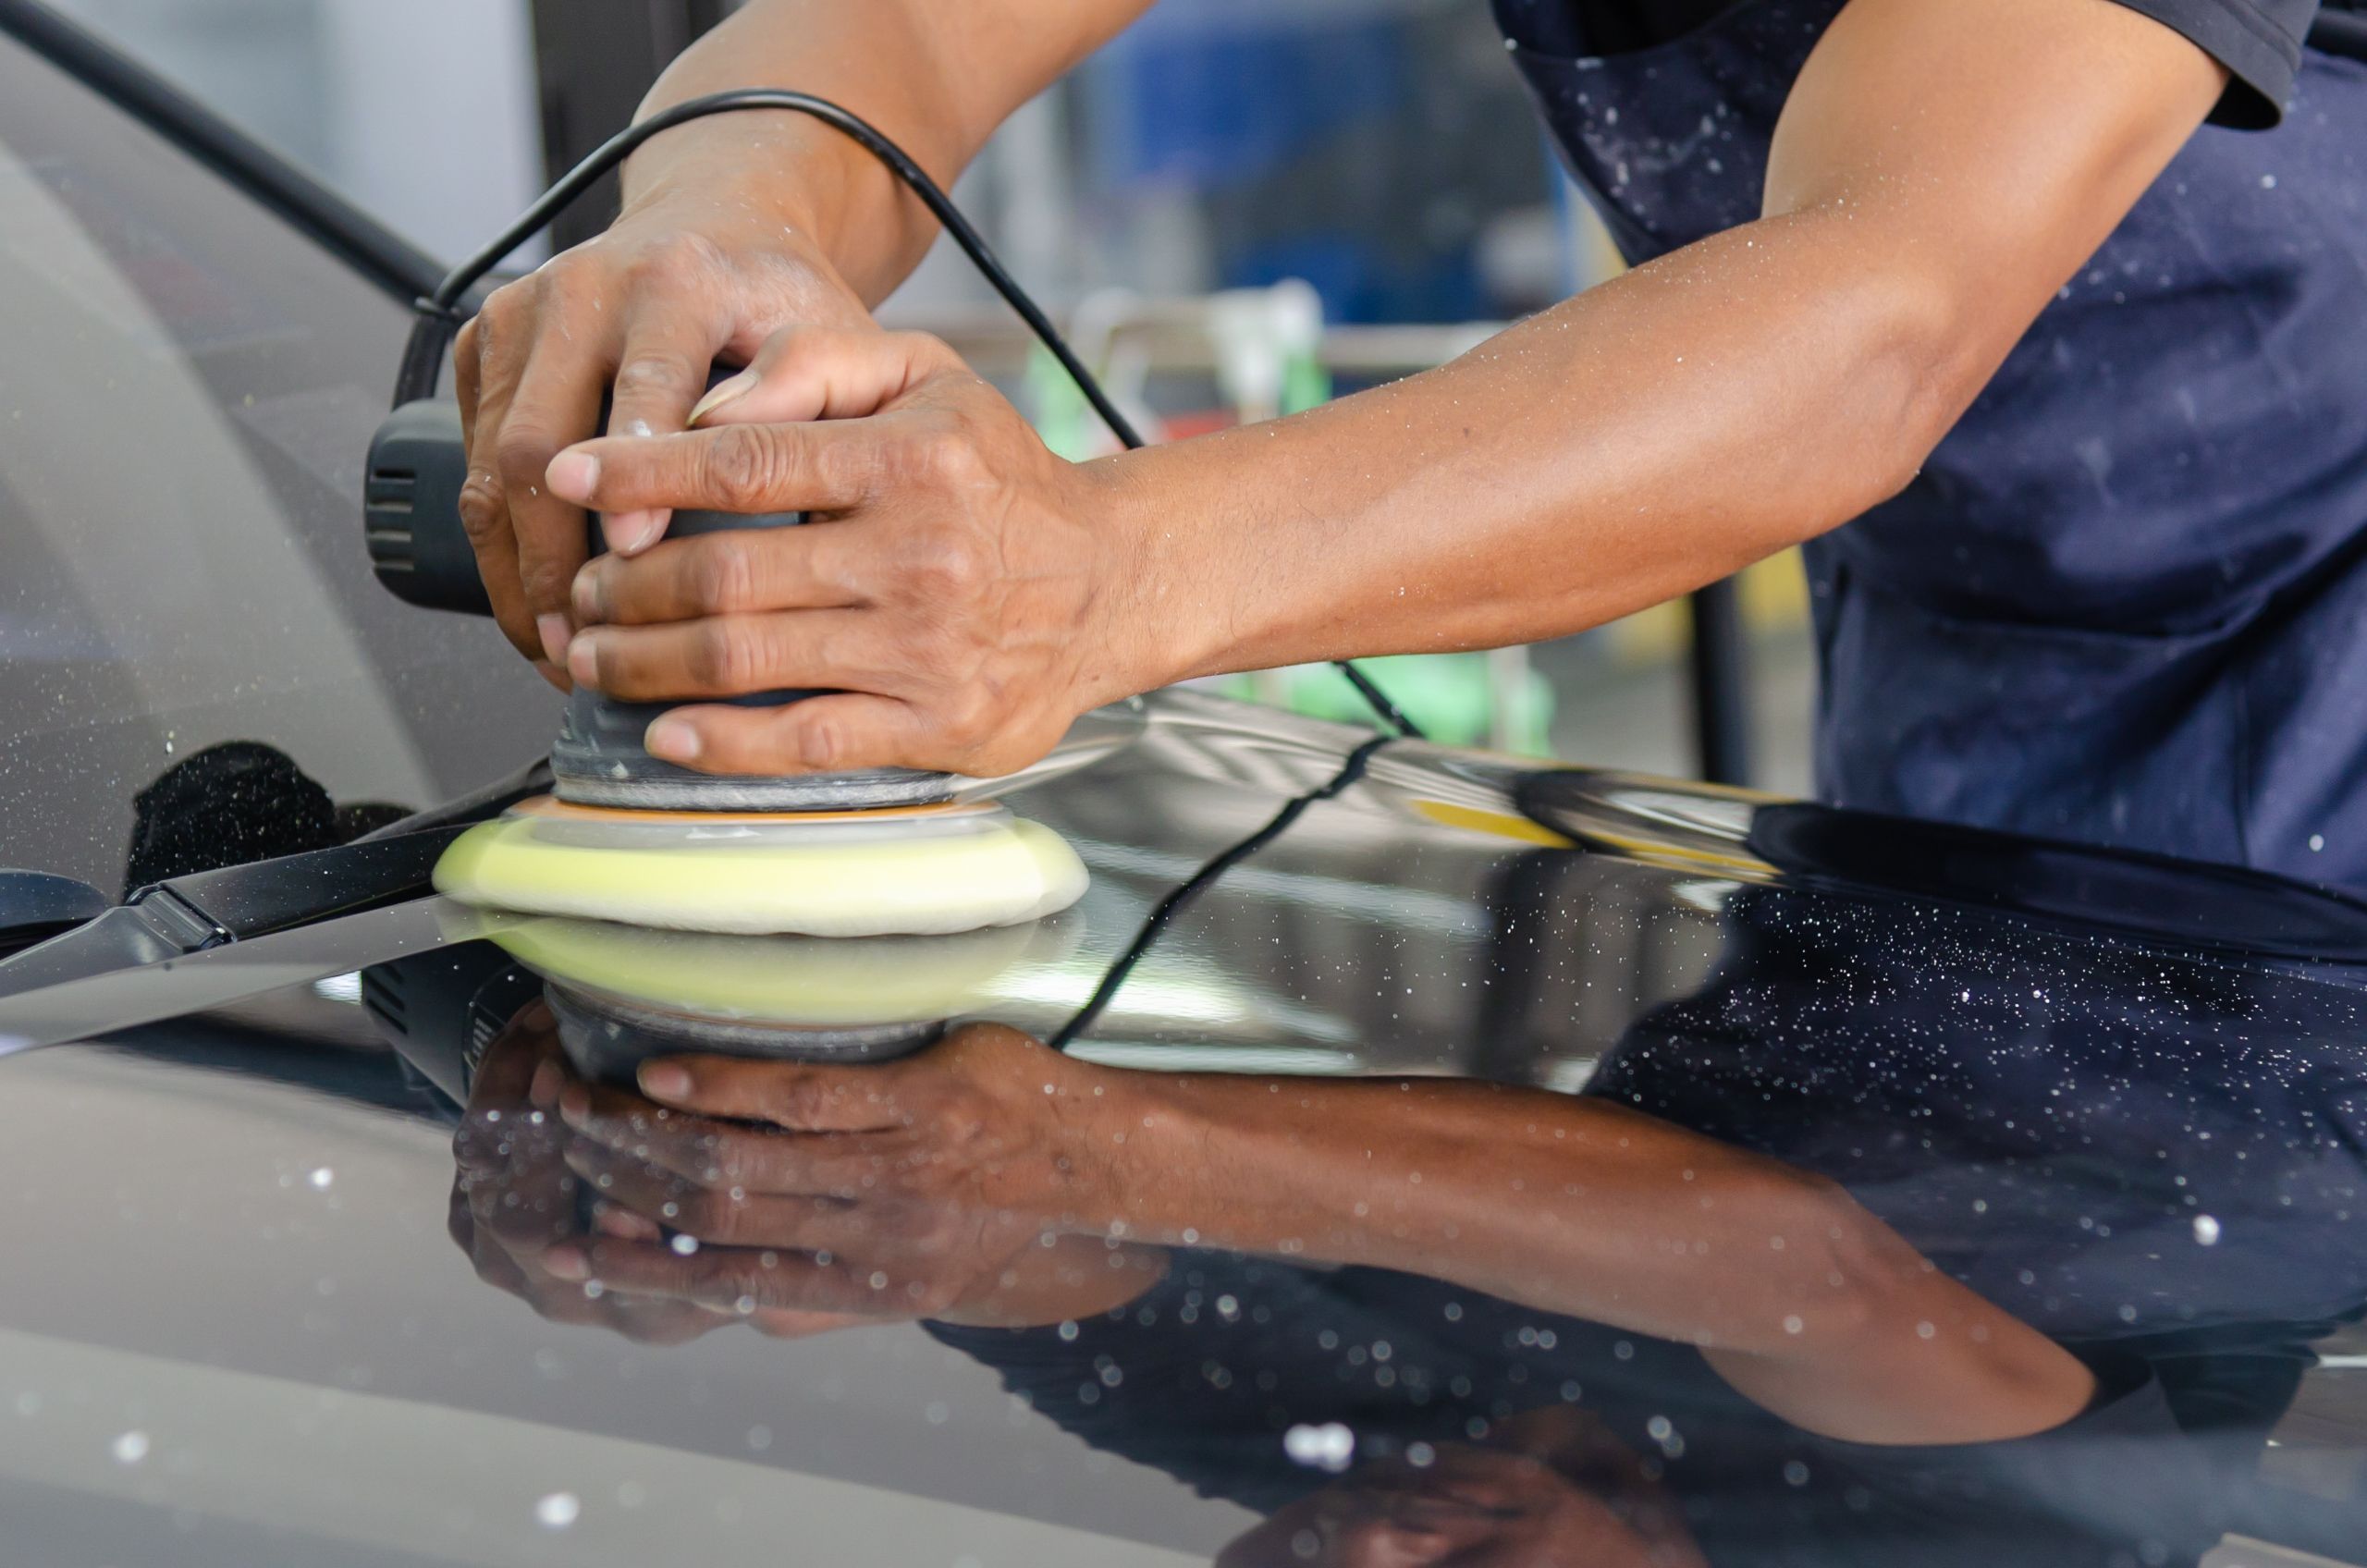
- Machine paint correction — levels swirls, haze, and etching so the coating has a flawless surface to amplify.
- Panel wipe — strips polishing oils so the coating bonds to clear coat, not residue. The easiest step to skip.
- Controlled application and cure — panel by panel, leveled by hand, cured undisturbed indoors.
Six of those seven stages happen before a drop of coating touches the car. That ratio is the whole point of this article.