The Routine, Step by Step
Step 1: Pick a day above freezing
Look for a day above freezing, with a few hours of daylight left so the car can dry before the temperature drops. The day of a thaw is the one to prioritize, because wet salt is working salt.
If your outside faucet gets shut off for winter, as many New Hampshire homes' do, a garden hose is off the table anyway. A self-serve bay is the easy answer: pressurized water, a floor drain, and no sheet of ice left on your driveway.
Step 2: Rinse the salt off the lower panels
This is the step that matters most for the long-term health of the car. Salt collects low, where tires throw it, so that's where most of your time should go.
- Make one quick pass over the whole car, top to bottom, to carry loose grit down and off.
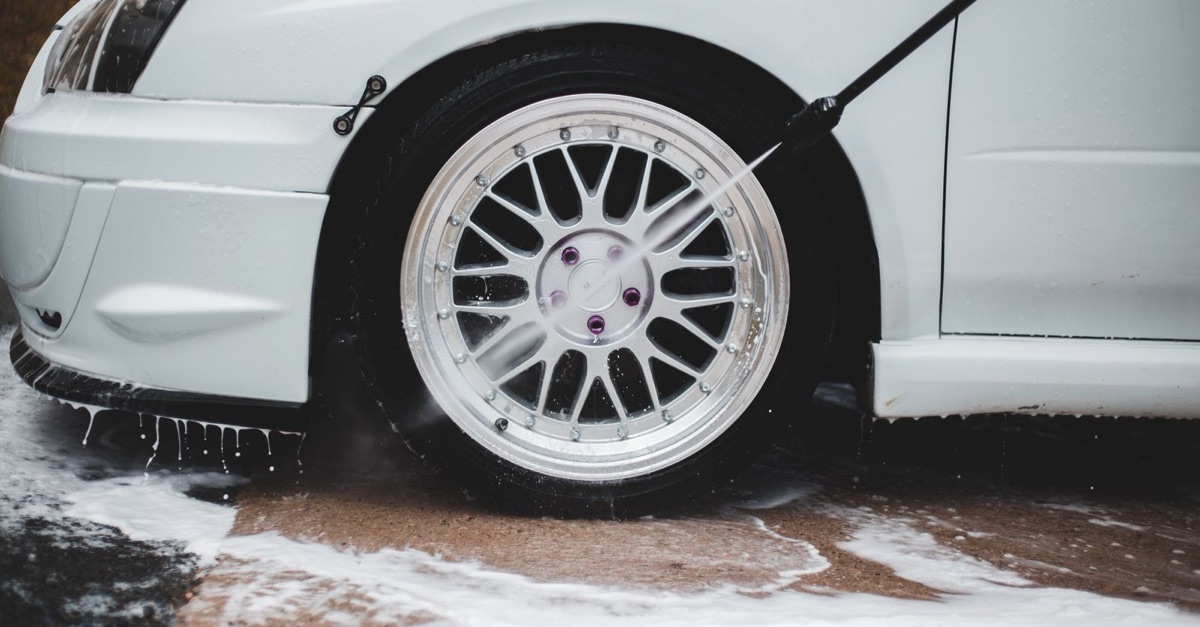
- Go back to the low areas and take your time: inside the wheel wells, behind each wheel, along the rocker panels under the doors, the lower doors, and both bumpers.
- Angle the wand up and under the rockers and into the wheel wells from each side. You won't reach everything, and you don't need to crawl under the car to do real good.
- Keep the tip at least a foot from the paint and keep it moving. Give extra room to rock chips, peeling edges, trim, and rubber seals.
Water alone takes off most loose salt, since salt dissolves. If you have time for soap, use the low-pressure soap setting and rinse it off well. Leave the foaming brush on its hook. It has been dragged across every muddy truck that used the bay before you.
Never Wipe Salt Dry A dusty white film looks like it needs a quick once-over with a towel, and that's how winter swirl marks start. Salt and sand under a towel behave like sandpaper. Rinse first, and only touch the paint once the grit is gone.
Step 3: Dry whatever can freeze
Before you leave the bay, open every door and wipe the jambs, sills, and rubber seals with a microfiber towel. Then do the door handles, the fuel door, and the trunk lip. Salty water collects in the jambs and is easy to miss, and a damp seal is what freezes a door shut overnight. Tap the brakes gently a few times on the way home to help dry them.
Step 4: Pull and clean the floor mats
Slush carries salt into the cabin, and the mats are your first line of defense. Take all of them out rather than cleaning around them.
- Rubber mats: knock off the loose grit, rinse with warm water, scrub with the brush if a white film stays behind, and towel them dry.
- Carpet mats: let them dry if they're soaked, because crust brushes out far more easily than wet salt. Brush hard, vacuum, then treat any white marks the same way you'd treat the carpet in Step 5.
Put mats back only when they're dry, or you'll trap the moisture against the carpet underneath. Secure the driver's mat on its retention clips, and never stack one mat on top of another. A loose or doubled mat can catch the pedals.
Step 5: Vacuum the carpet and blot the salt stains
With the mats out, brush any crust loose and vacuum slowly, working in two directions. Spend extra time around the pedals, along the seat rails, and at the door sills, where boots drop the most.
For white salt marks, mist the spot lightly with warm water and a little automotive carpet cleaner, work it in with the brush, and blot with a clean towel. Repeat until the towel comes up clean. The goal is to lift the salt out, so go easy on the liquid: soaking the carpet just pushes it deeper. Many home guides suggest vinegar, but we'd skip it. It tends to leave a smell behind without reaching the base of the carpet.
Finish by drying the cabin. Run the heat with the A/C on for ten minutes if your car allows it, since the A/C pulls moisture out of the air. Damp carpet in a cold, closed car is where the musty winter smell starts.
Step 6: Wipe down what you touch
Do this after a drive, while the cabin is warm, because interior cleaners can streak on cold surfaces. Mist the cleaner onto the towel rather than the surface so nothing drips into switches and seams. Then work through the steering wheel, shifter, turn-signal stalks, door pulls, window switches, seat-belt buckles, center console, and cupholders.
Use a leather-safe product on leather. For touchscreens, a dry or barely damp microfiber is enough; check your owner's manual before using any glass cleaner on one.
Step 7: Clean the inside of the glass
The inside of a windshield builds up a film over time. That film gives fog something to cling to and makes low winter sun harder to see through. Use one towel with glass cleaner and a second, dry towel to buff, and don't skip the bottom edge where the windshield meets the dash. While you're there, wipe the rubber edge of each wiper blade with a damp towel and top off the washer reservoir with a winter-rated fluid.